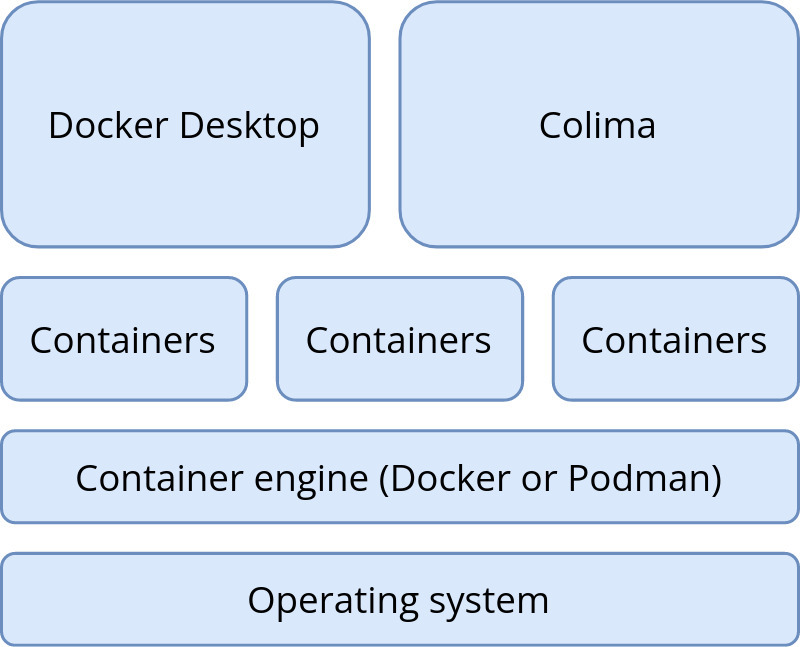
Back in March, 2022, the DDEV team announced support for Colima, an open-source Docker Desktop replacement for Mac OS X. Based on the fact that Colima is open-source, Docker Desktop's new license terms, and the apparent performance gains of using Colima it seems like a no-brainer to give it a spin.
First off, it's almost a drop-in replacement for Docker Desktop. I say almost for one reason, as any existing DDEV projects will need to have their databases reimported. In other words, if you have an existing project up-and-running in DDEV, then add Colima, then restart the project, your database won't be found. The easy fix is to first export your database, then start Colima, then import it. Easy.
The reason for this (as I understand it) is because Colima uses the open-source Lima project for managing its containers and volumes (the latter being where DDEV project databases are stored).
For those of us that are casual Docker users (outside of DDEV), one confusing bit is that we still need the open-source docker client installed - which is installed by default with Docker Desktop for Mac. The docker client is used on the command line to connect to the installed Docker provider (Colima or Docker Desktop for Mac, in this context). If you want to go 100% pure Colima and you uninstall Docker Desktop for Mac, you'll need to install and configure the Docker client independently. Full installation instructions can be found on the DDEV docs site.

If you choose to keep using both Colima and Docker Desktop then when issuing docker commands from the command line, you'll need to first specify which containers we want to work with - Docker or Colima. More on this in the next section.
How I use Colima
I currently have some local projects using Docker and some using Colima. Once I understood the basics, it's not too difficult to switch between.
Installing Colima alongside Docker Desktop for Mac and starting a fresh Drupal 9 site
- To get started, I first installed Colima using Homebrew
brew install colima -
ddev poweroff(just to be safe) - Next, I started Colima with
colima start --cpu 4 --memory 4The --cpu and --memory bits only have to be done once. After the first time, only colima start is necessary. - Next, I spun up a new Drupal 9 site via
ddev config,ddev start, etc... (It is recommended to enabled DDEV's mutagen functionality to maximize performance).
Switching between a Colima DDEV project and a Docker Desktop for Mac DDEV project
-
ddev poweroff -
colima stop -
docker context use default- this is the command I alluded to above that tells the Docker client which containers we want to work with. "default" is the traditional Docker Desktop for Mac containers. When colima start is run, it automatically switches docker to the "colima" context. -
ddev start(on an existing project I had previously set up while running Docker Desktop for Mac).
Technically, starting and stopping Colima isn't necessary, but the ddev poweroff command when switching between the two contexts is.
Also - recent versions of Colima revert the Docker context back to "default" when Colima is stopped, so the docker context use default command is no longer necessary. Regardless, I use docker context show to verify that either the "default" (Docker Desktop for Mac) or "colima" context is in use. Basically, the "context" refers to which Docker provider the Docker client will route commands to.
Summarizing
Overall, I'm liking what I see so far. I haven't run into any issues, and Colima-based sites seem a bit snappier (especially when DDEV's Mutagen functionality is enabled). I definitely foresee myself migrating project sites to Colima over the next few weeks.
Thanks to Randy Fay for reviewing this blog post. Randy is the lead maintainer of the DDEV project. If you use DDEV, then you should support the DDEV project!
Image by: Mike Anelllo. Modified by Opensource.com. CC BY-SA 4.0
